
Written by Annette
Creating a template to share with your Team
Designers can create templates with various restrictions that can be shared with other team members. Learn how to create a template here.
Any design that you have created in Easil can be updated into a template that can be shared with your team members.
To create a basic, fully editable template to share with your team (no restrictions applied):
- Complete your design, and exit to your 'Workspace'.
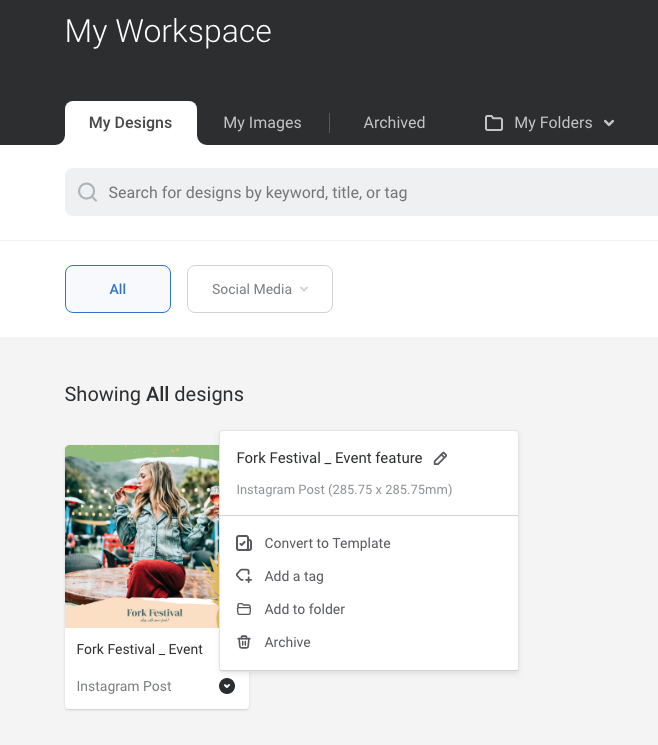
- Locate the design thumbnail and select the chevron at the bottom of the card to pop up the design management options.
- Select 'Convert to Template'.
- The Template will immediately appear under the 'Templates > Team' tab in your Workspace.
If you'd like to apply restrictions to the design, meaning that you can prevent users from using certain tools, or performing certain actions within your design template, you can update the template with these settings prior to the 'Convert to Template' step:
- Whilst the design is open in the editor, select an element, such as a text box, that you'd like to apply the restriction to. You may want to allow the user to edit the text, but not anything else (eg prevent moving the text box, deleting, changing the opacity, and so forth).
- With the element selected, click on the Locking Restrictions panel (Lock icon), on the bottom of the right panel.
- Select the restrictions you would like to apply. You will notice in the Editor Actionbar, that the permissions produce an immediate visual representation of the locks. For example, if you have locked a text box from having the size edited, the font size dropdown will not be visible in the Easil editor.
Repeat the locking steps on all elements, and when complete, you can use the 'Convert to Template' functionality as per fully editable templates.