
How to Add text to your Design
To add a new text box, go to the right side panel and select the 'T' menu. Read about the options here.
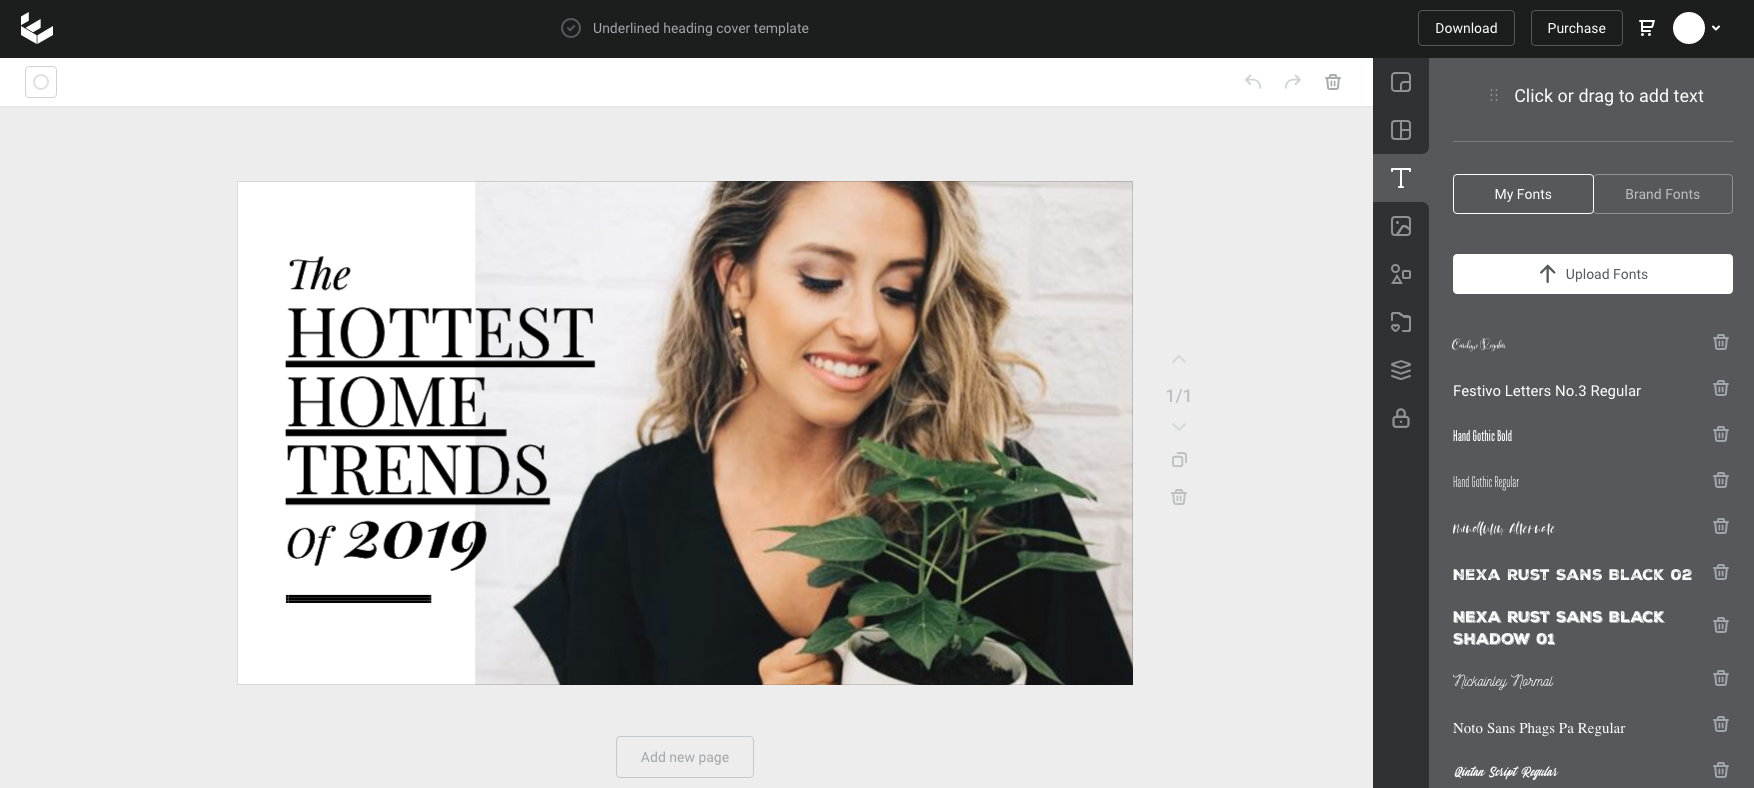
After clicking on the 'T' menu in the right side panel, you will be presented with various options for the font you'd like to add:
- 'Click or drag to add text' - this is the default field for adding a text box that can be formatted with various fonts in the editor dropdown, after it has been placed on the design, and is the option available to Basic/Free level accounts.
- 'My Fonts' contains all of your personally uploaded fonts. By clicking or dragging from this list, your text will drop onto your design already set with the chosen font.
- 'Brand Fonts' contains all fonts uploaded to the Brand Kit by your team's Brand Manager. Clicking or dragging these will also result in the text being set with the chosen team brand font.
 You can update the font details at any time by using the Font selector dropdown in the top Actionbar:
Just select your text box/es to apply the font to and your formatting options will appear.
A secondary way to add text to your design is to duplicate an existing text box. This option is the fastest if you want to replicate text to keep in line with the styling of your document.
The duplicate button can be found on the far right in the Actionbar:
Click the enlarge icon on the video to view at full screen size.
Once the text is added to the design canvas you can manipulate as usual, including changing to another font if required (and not locked down by permissions).