
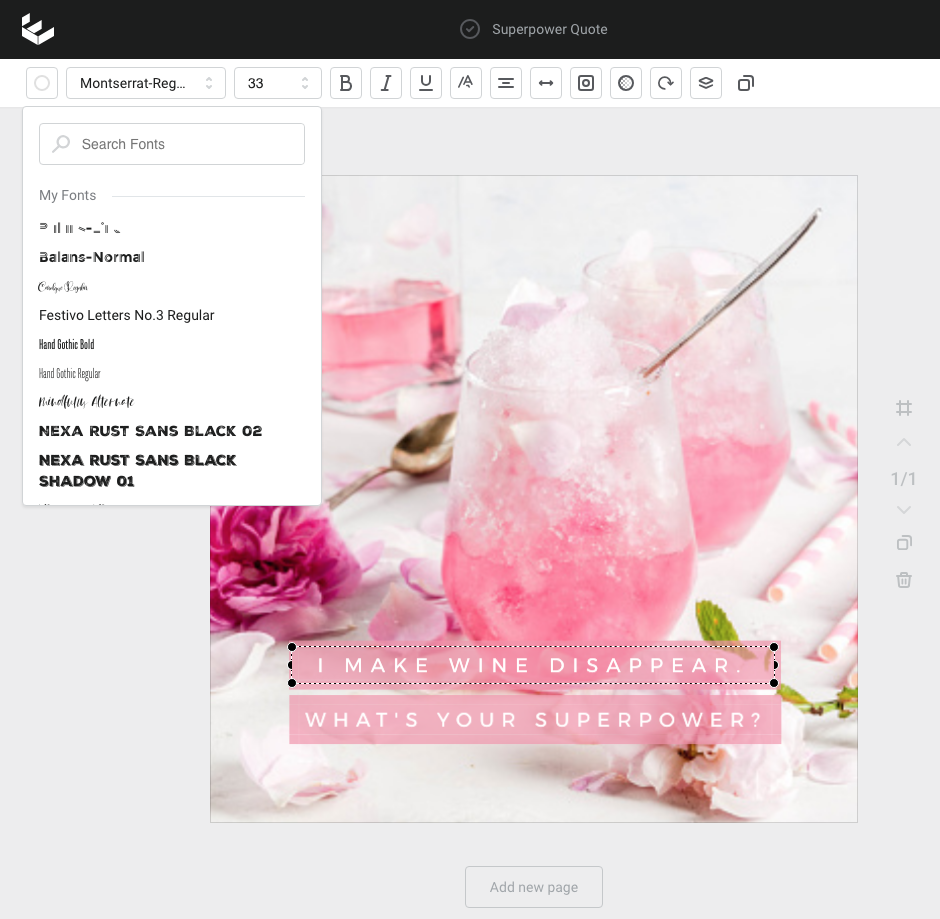
How to edit text
Single clicking allows you to change the font, size, color, and other variables, and double clicking allows you to edit the text content.
When using a pre-designed template, there will be several text boxes placed on the design ‘canvas’ – the working area on the screen.
There are two ways to select textboxes, single-clicking on text allows you to change the font, size, color, as well as other variables to the entire text box, but double-clicking on the text allows you to edit the text content itself.
Text editing basics
With a text box selected, the top of the editing sidebar will show all of the basic text editing options. Here you can select a new font, enter a new size, activate font styles, (Bold, Italic, Underline) select alignment, (Left, Right, or Centre Aligned), and pick a color for the text.
Select and highlight text within a text box to apply styling attributes to only that section - such as a different color, size or styling (eg Italics). If you do not highlight text, the formatting will apply to the entire text box.
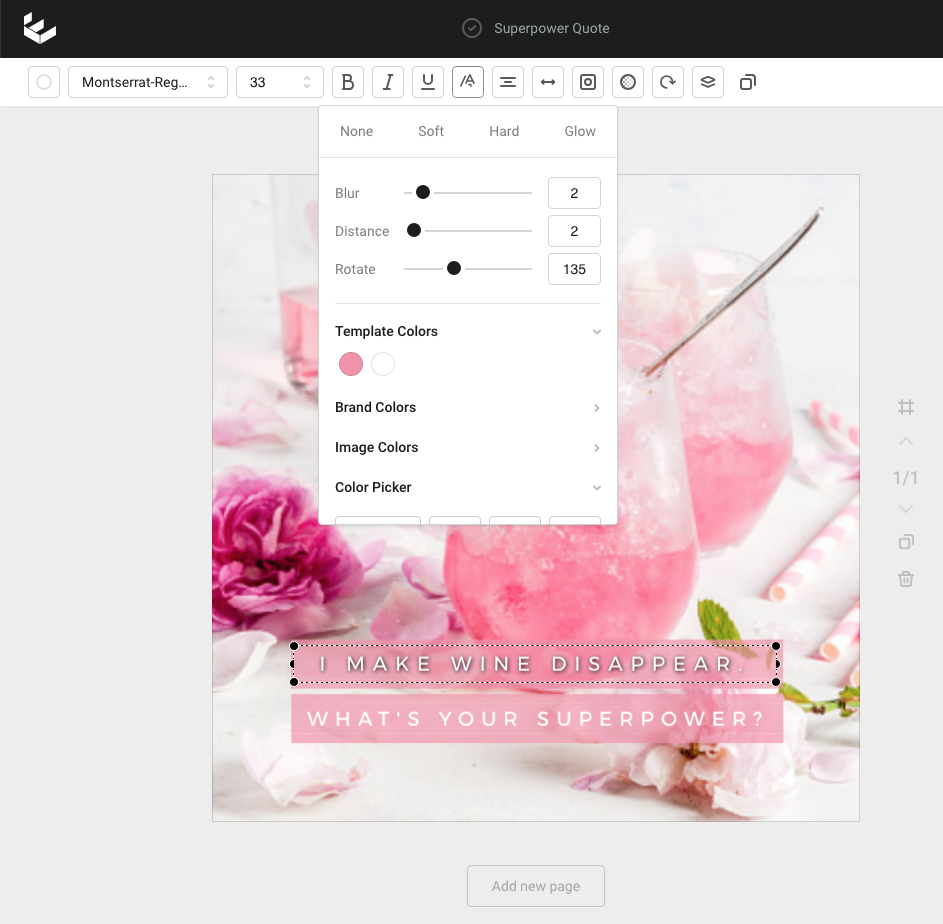
Text Shadow and Glow Settings
Apply various text effects to your editable text with the Drop Shadow and Text Tool. Simply select the text you would like to apply the effect to, click on the Text Effect button in the action bar, and choose from presets for soft drop shadow, hard drop shadow, or glow effects. Use the sliders underneath to refine the blur, distance, and rotation of the effect, and the color options underneath (including image and brand colors).
Alignment
Adjust all of the content within a single text box to be left-aligned, center-aligned, or right-aligned, by clicking on the options in the alignment dropdown. There is no need to select the text within the box to apply, just click the entire box to select.
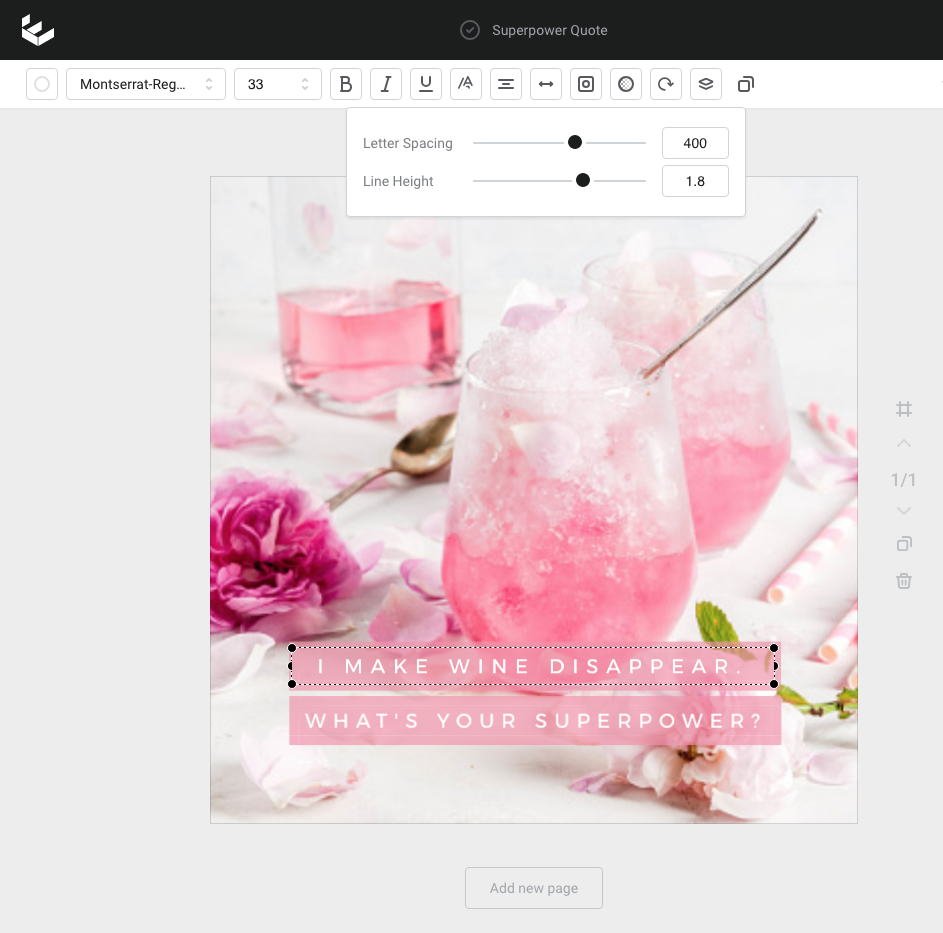
Letter Spacing
To spread out the spacing between all letters in a text box, you can utilize the Letter Spacing slider located in the Text Edit sidebar. Select the text box you would like to adjust and move the slider to the right to increase the spacing between letters, or to the left to tighten up the spacing. The technical term for this is adjusting the ‘tracking’.
Line Height
When you have a textbox containing several lines of text, you may adjust the amount of space between each line. Select the textbox you would like to adjust and use the Line-height slider to increase the amount of space by moving to the right, or reduce the spacing by sliding to the left
Opacity
Adjust the opacity of your text to allow background images or layers to show through by moving the slider, or entering an amount between 1 to 100 in the input box to the right of the slider.
Rotate
Change the angle of any text box by selecting the text box, and sliding the rotate slider, or entering a degree into the input box to the right of the slider, between 1 to 360 degrees, and pressing enter.