
Written by Annette
How to create a new group
We recommend that you organize your layers in groups as your design gets more complex. Learn how here.
You’ll notice in the pre-designed templates in Easil, key sections such as heading, copy and background are organised in separate groups. This makes it easier for you to keep track of all the elements in your design.
To create a new group:
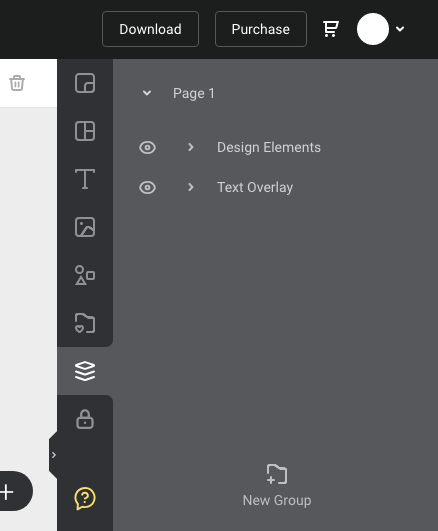
- Open the layers tab
- Click 'New Group' at the bottom of the panel.
- A new Group is immediately created and added to the top of your layers, where you can click to name it.
- Drag any existing layers into the group to put them inside, ensuring that you stack the layers correctly (items to appear at the front of the design, should be at the 'top' of the group).
Groups can be selected via the Layers tab for scaling (increasing or decreasing the size of all elements in the group at once), hiding, deleting, or changing the order within the document (by dragging the group up or down in the layers tab).