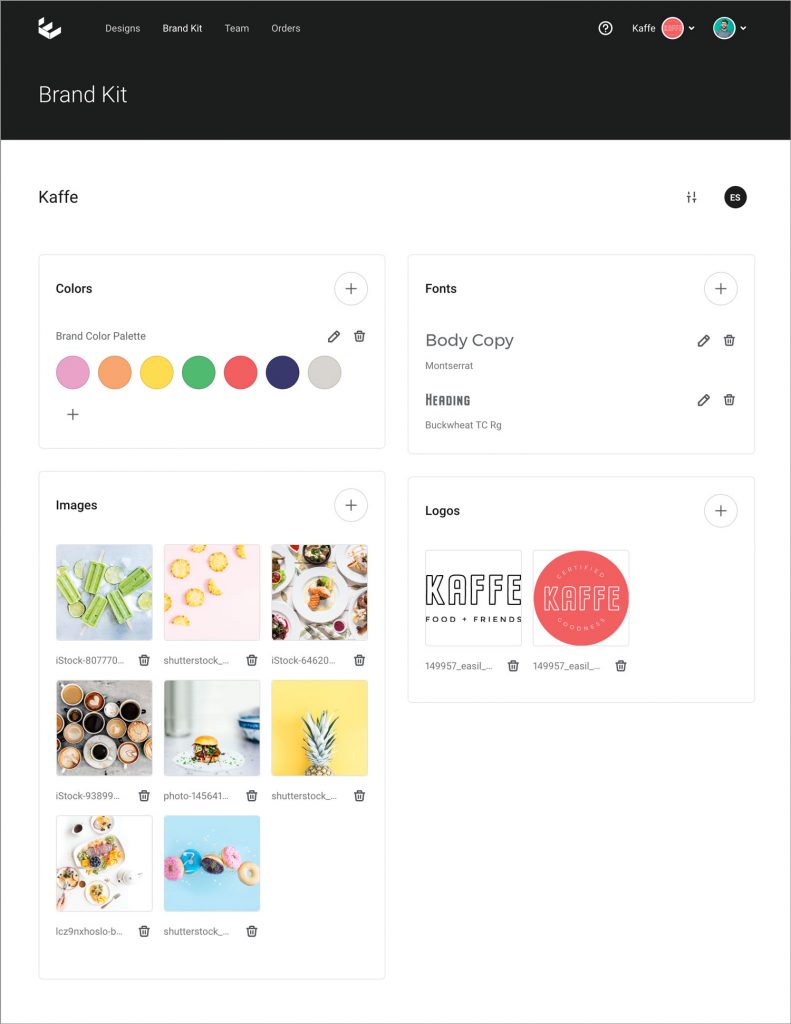
Setting up your Brand Kit
Set up your default Brand Colors, Fonts, Images and Logos.
Easil's Brand Kit allows the Brand Manager to set defaults for Colors, Logos, Fonts and Imagery that your Design can use to create templates.
All settings are available under the 'Brand Kit' tab located at the top of the Easil interface.

Setting up your Brand Colors
- Click on the Add (+) button and add your Brand Colors by entering hex codes, RGB values, or by using the color picker.
- Continue adding colors to the palette as required.
- Click on the pencil icon to edit the name of your color palette.
- Repeat for additional color palettes as required.
Color palettes can be deleted by clicking on the Trash can icon.
Uploading your Brand Fonts
- Click the Add (+) button to bring up the Font management modal.
- Upload your Font, ensuring that you have the correct licencing to share or use for your intended purposes. Tick the box to confirm.
- Confirm the style of font that you have uploaded if it is a variation, eg Bold or Italic, using the font styles button options.
- You can rename your font with a preferred name by using the 'Brand Font Name' field so it is familiar, such as 'Main Heading'. This field is optional.
- Press 'Save Font'.
- Repeat for additional font styles.
Fonts can be deleted by clicking on the Trash can icon.
Adding your Brand Images
- Click on the Add (+) button located underneath the Brand Images header.
- Upload an image.
- When loaded, select the pencil icon, and if required, you can rename the image.
Images can be deleted by clicking on the Trash can icon.
Adding your Brand Logos
- Click on the Add (+) button located underneath the Brand Logos header.
- Upload your Brand Logos in JPG, PNG or SVG formats.
Logos can be deleted by clicking on the Trash can icon.