
Cropping lets you control which part of an image, video, or graphic is visible in your design. You can adjust the crop area, move the content within the cropped space, and return to the crop tool later if you need to make further changes.
To crop an image, video, or graphic:
- Select the item on the canvas, then select the Crop button in the Actionbar.
- Alternatively, double click the item you wish to crop.
- Drag the corner handles to resize the crop area from two edges at once.
- Drag the side handles to adjust only the top, bottom, left, or right edge of the crop area.
- Drag the item within the crop area to reposition which part is visible.
- Press Crop in the Actionbar popout to confirm your changes.
The crop tool does not permanently delete the hidden part of the item. You can select the item and open the crop tool again at any time to adjust the crop.
Fit or fill an image frame
When an image is sitting inside a frame or cropped area, you can choose whether it fills the full frame or fits inside it:
- Select the image on the canvas.
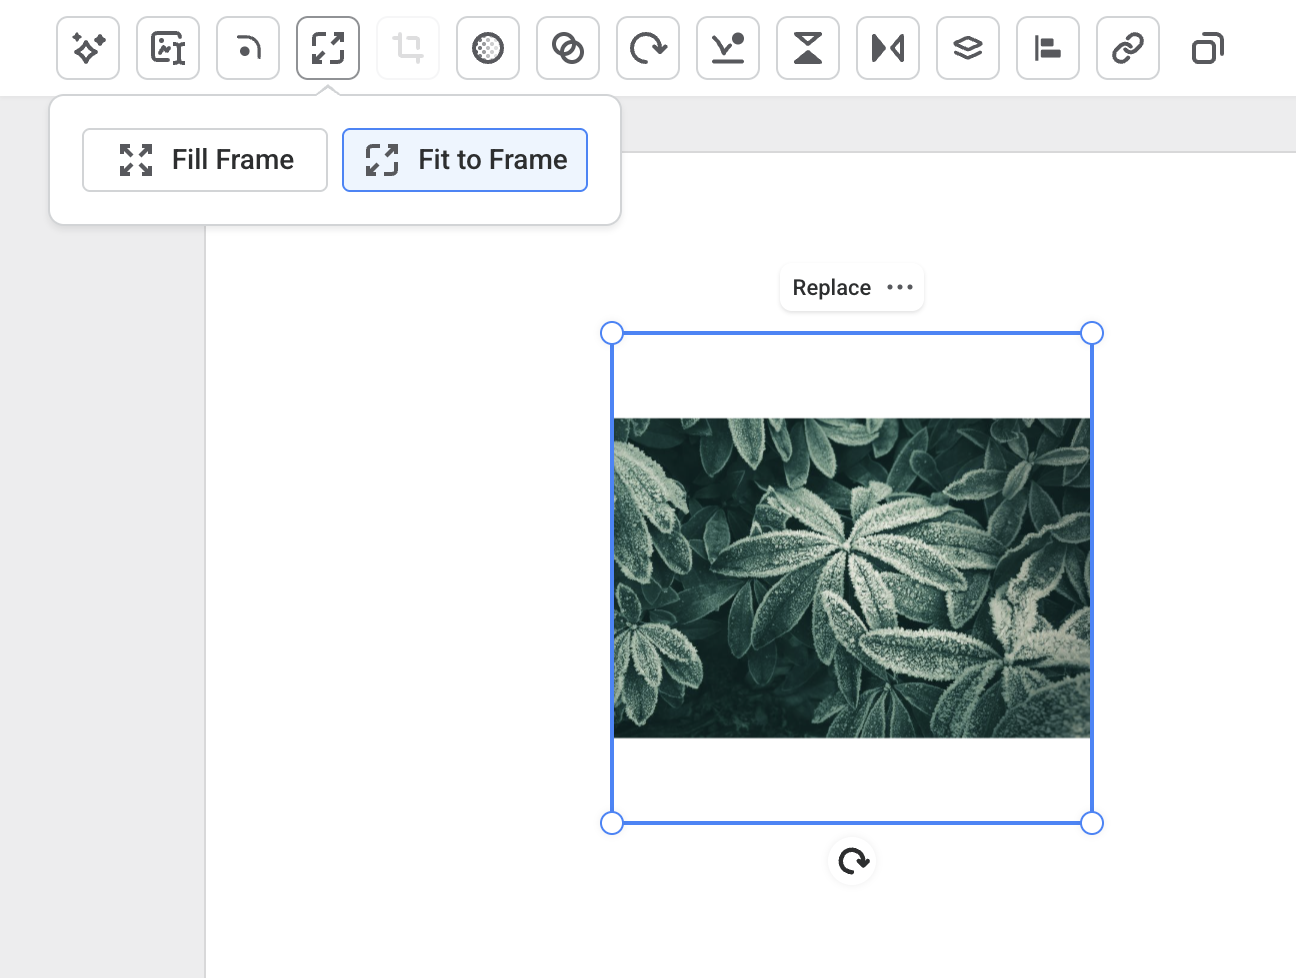
- Select the Fill Frame or Fit to Frame button in the Actionbar.
- Choose Fill Frame to cover the whole frame. Some parts of the image may sit outside the visible area.
- Choose Fit to Frame to show the full image inside the frame. This may leave empty space if the image and frame are different shapes.
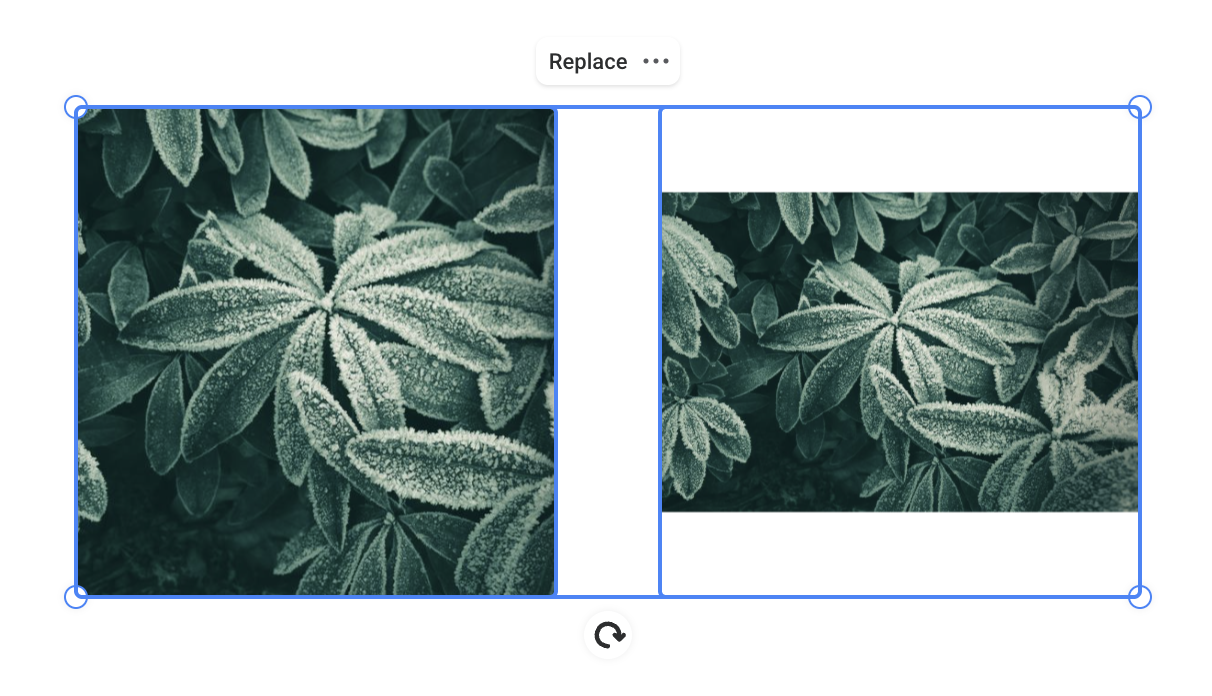
The example below shows the same image in both settings. The left image uses Fill Frame, so it covers the full frame and crops the edges. The right image uses Fit to Frame, so the full image remains visible inside the frame.