

A background image fills the page behind your other design elements. It is useful for full-page photography, textured backdrops, menus, flyers, and social posts where the image should stay behind text and graphics.
You can use an image from the Easil image library or upload your own image before setting it as the page background.
Set an image as the background
- Open your design in the Easil editor.
- Open the Images tab in the sidebar.
- Search for an image, choose one from your favourites or uploads, or upload a new image.
- Click the image, or drag it onto the page, to add it to your design.
- Select the image on the page.
- Right-click the image and choose Set as Background from the context menu.
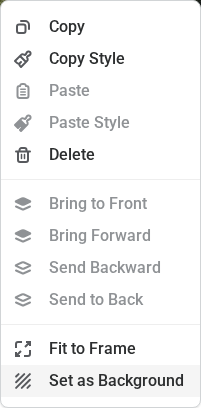
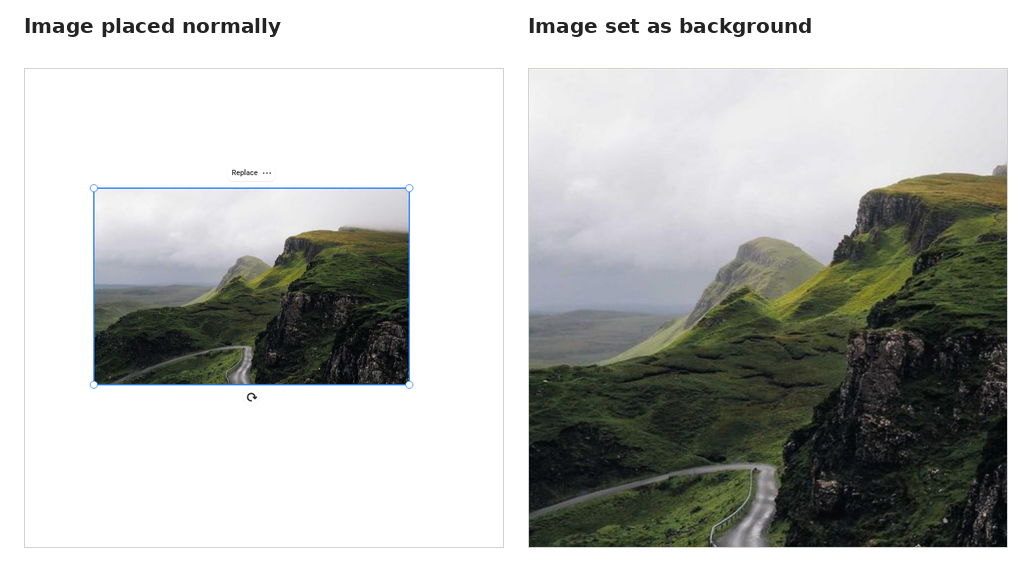
Easil resizes the selected image so it fills the page as the background.
Replace a background image
- Add the new image to your page from the Images tab.
- Select the new image.
- Turn on Set Image as Background.
The new image becomes the page background. Check your text and other design elements after replacing a background, as the new image may change the contrast or readability of the design.
Return a background to a regular image
- Select the background image.
- Turn off Set Image as Background.
The background returns to a regular image element that you can move, resize, crop, or delete.
Tips for background images
- Use high-resolution images for print designs so the background stays sharp when downloaded or printed.
- Leave enough contrast between the background and any text placed over it.
- Crop or reposition the image after setting it as the background if the important part of the image is not visible.
- If you are editing a team template, some image or background options may be limited by template restrictions.