

What is Smart Data?
Smart Data lets template designers turn parts of a design into reusable fields. When someone edits the design, they can update those fields from Quick Input instead of editing each text box manually.
Smart Data is useful for details that change each time a design is used, such as event dates, venue names, prices, locations, contact details, or offer text. If the same Smart Data field is used in more than one text box, updating the field updates every linked place in the design.
Smart Data is also useful with locking. Designers can lock a text box so Members cannot change its layout, styling, or other locked content, while still allowing Members to update the Smart Data values inside that text box from Quick Input.
Smart Data fields use the doc. Smart ID prefix, for example {doc.eventDate} or {doc.storeLocation}.
Creating Smart Data from selected text
To create Smart Data from existing text, first enter Smart Data creation mode for the text box.
- Select the text box that contains the text you want to make editable.
- Right-click the text box and choose Create Smart Data.
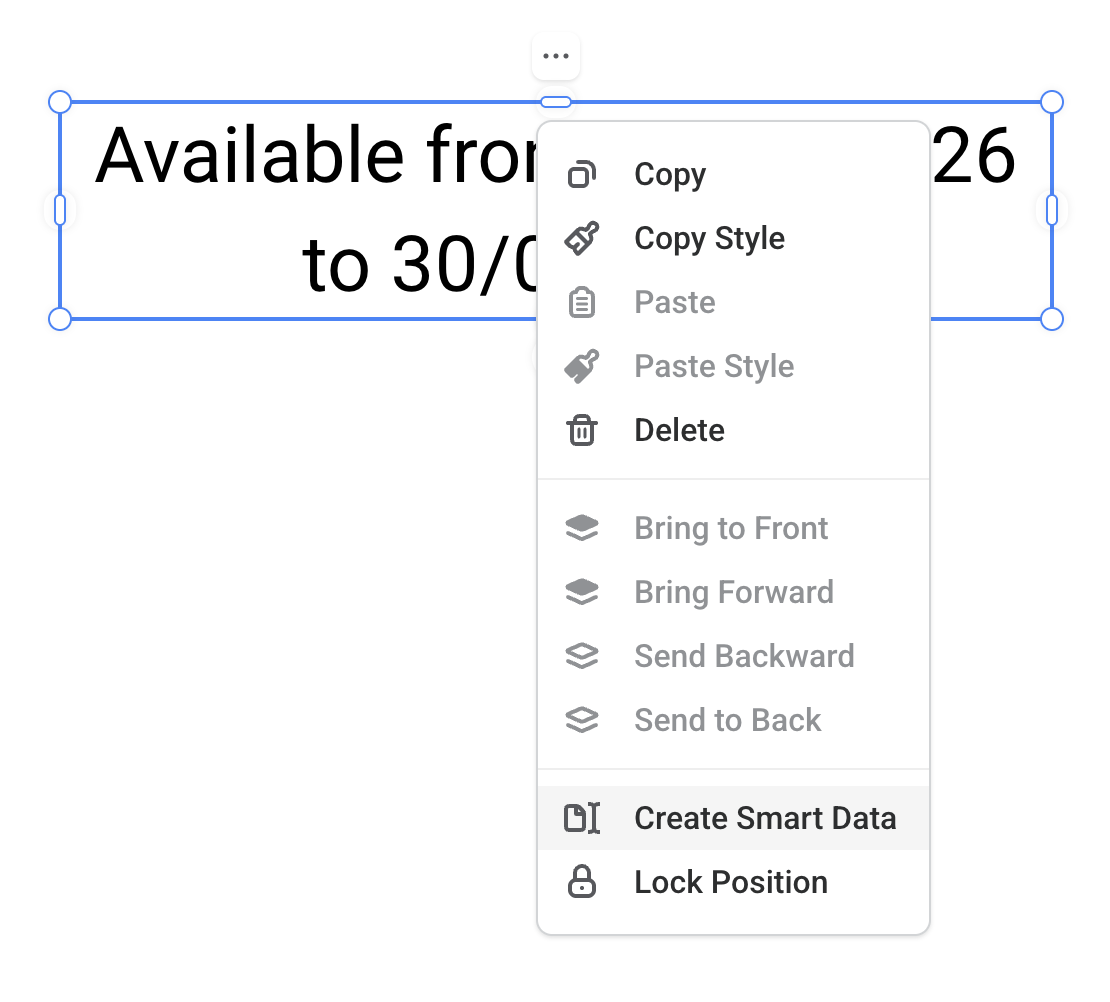
- Highlight the text you want to turn into Smart Data.
- Click Create.
- If matching text is found elsewhere in the design, choose whether to link only the selected text or link all matching text to the same Smart Data field.
- Click Done when you have finished creating Smart Data fields.
Once created, the selected text is replaced by a Smart Data token such as {doc.eventDate}. The design still displays the field value, but it can now be updated from Quick Input.
Adding Smart Data from Quick Input
Template designers can also create fields from the Smart Data section in Quick Input.
- Open Quick Input.
- Expand the Smart Data section.
- Click + Add Smart Data.
- Enter a field name and Smart ID.
- Choose the field type.
- Click Add.
After the field is added, use its Smart ID in a text box by typing it inside curly brackets, for example {doc.eventDate}.
Choosing a field type
Smart Data fields can use different field types depending on the information the user should enter:
- Text for names, locations, descriptions, offer text, and other free text.
- Number for numeric values. Number fields can also require decimals.
- Date for dates.
- Time for times.
- Date & Time for a date and time together.
- Choice for a fixed list of options.
For Choice fields, add each option on its own line.
Editing Smart Data fields
In Quick Input, template designers can edit Smart Data fields after they have been created. You can rename the field, update the Smart ID, change the type, adjust options for Choice fields, or delete the field if it is no longer needed.
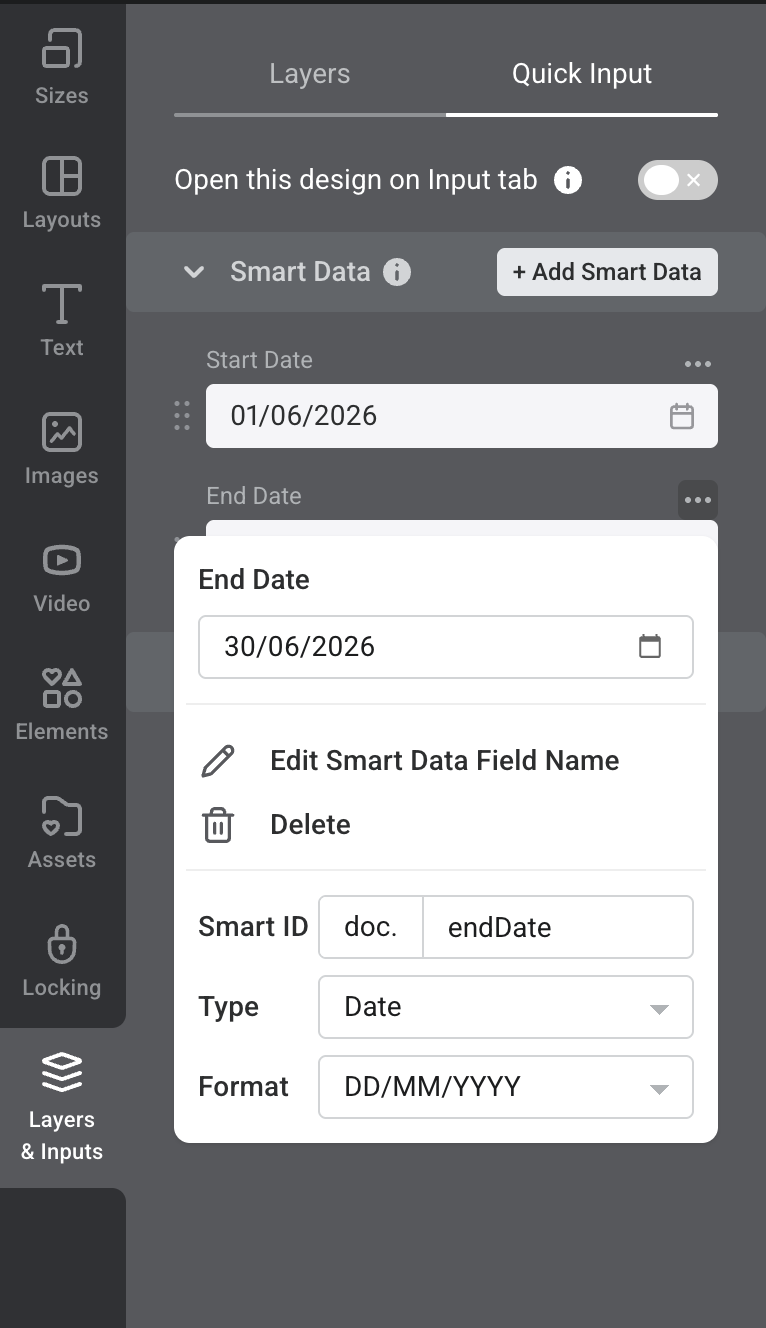
If you rename a Smart ID, Easil updates the matching {doc...} tokens in the design. If a field is not used in the design, Quick Input shows it as unused.
Updating Smart Data values
Anyone editing the design can update Smart Data values from Quick Input. Enter the new value beside the field and Easil updates the linked text in the design.
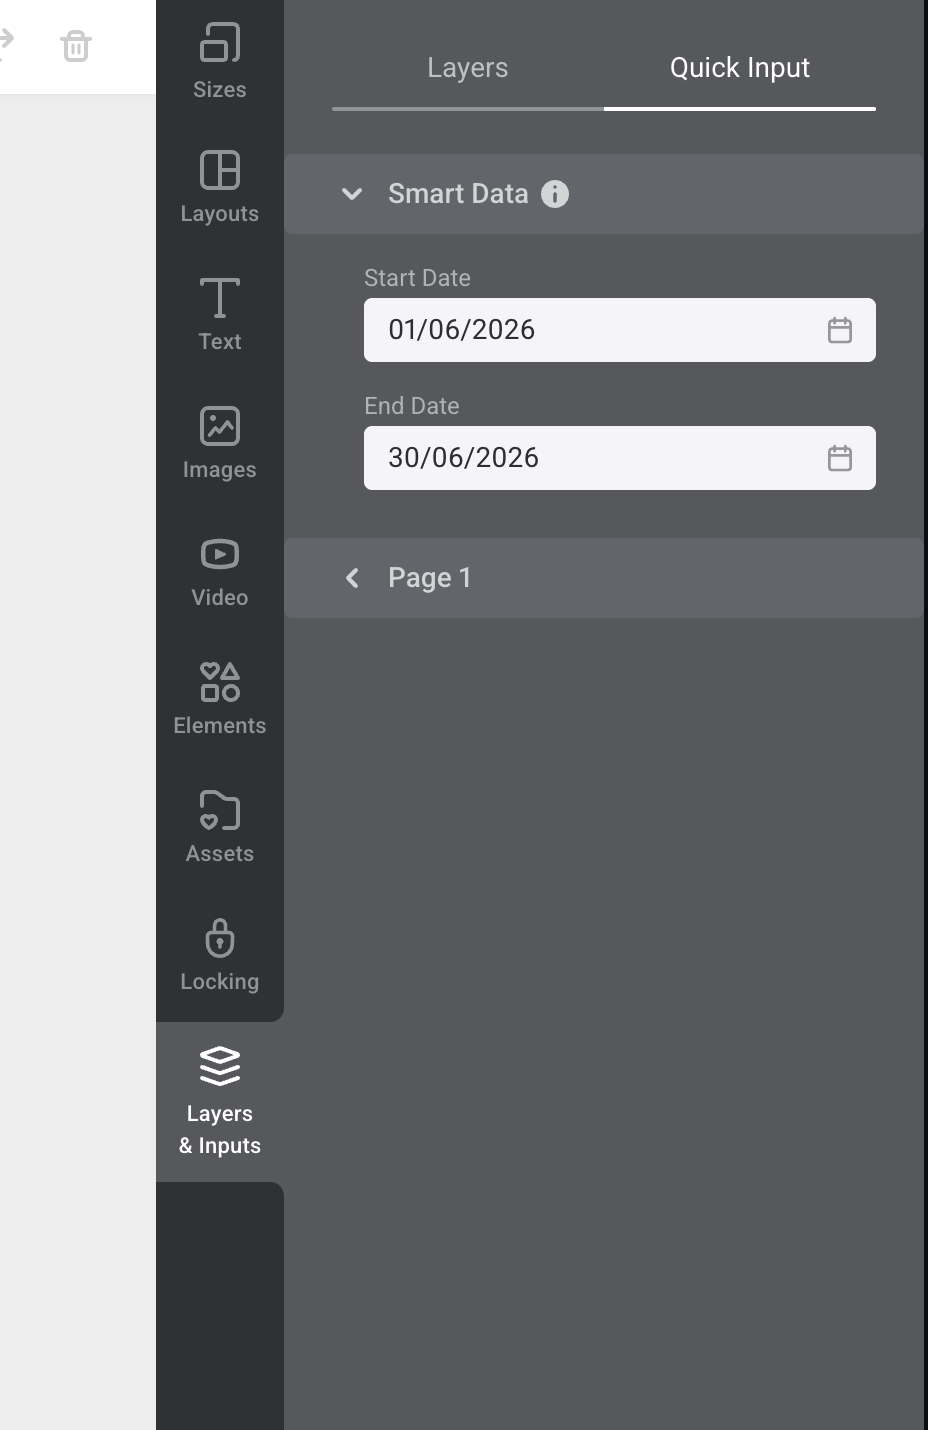
This is different from Smart Text. Smart Text can pull reusable user or team information into templates, while Smart Data is stored with the design and is used for design-specific details.
Locking and Smart Data
When a text box is locked, Members cannot move, style, or directly edit the locked text box on the canvas. Any Smart Data values inside the locked text box remain editable from Quick Input.
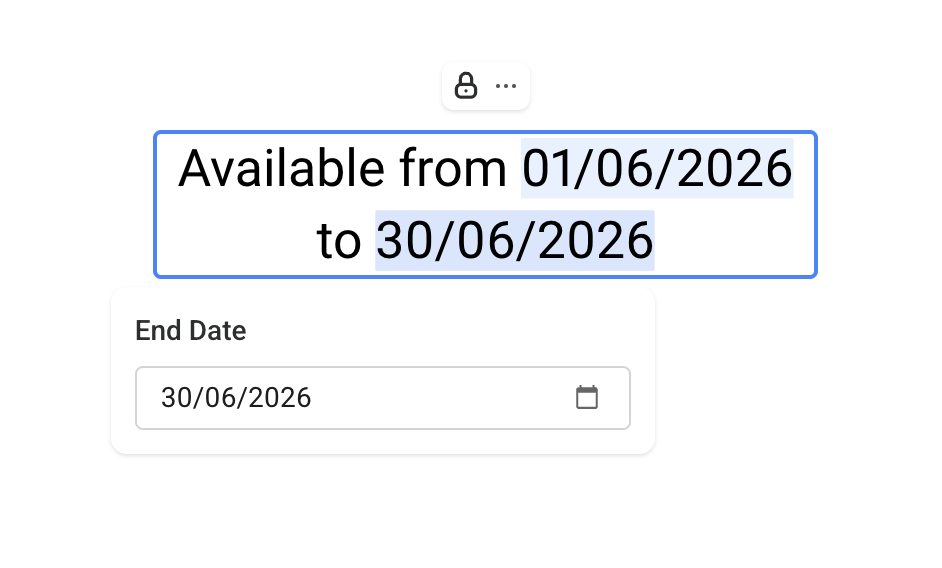
This lets designers protect the layout and formatting while still allowing design-specific details, such as dates or locations, to be updated.
Date and time formatting
For Date and Date & Time fields, the Format dropdown controls how the date appears in the design.
Available date formats include:
DD/MM/YYYY, for example25/12/2025MM/DD/YYYY, for example12/25/2025MMM D, for exampleDec 25D MMMM YYYY, for example25 December 2025DDD, D MMM YYYY, for exampleThu, 25 Dec 2025DDDD DD/MM/YYYY, for exampleThursday 25/12/2025DDDD, D MMMM YYYY, for exampleThursday, 25 December 2025
For Time and Date & Time fields, use the time Format dropdown to choose 24 hour or 12 hour display. When 12 hour is selected, switch Show AM/PM on if the time should include AM or PM.
For example, a time entered as 17:05 can display as:
17:05with 24 hour selected.5:05with 12 hour selected and Show AM/PM switched off.5:05 PMwith 12 hour selected and Show AM/PM switched on.
Date & Time fields use the selected date format and add the formatted time after the date. For example, 25 December 2025 5:05 PM.