Text formatting tools

Written by Annette
Easil allows a variety of formatting options for text such as alignment, underline, text spacing, text masking and opacity.
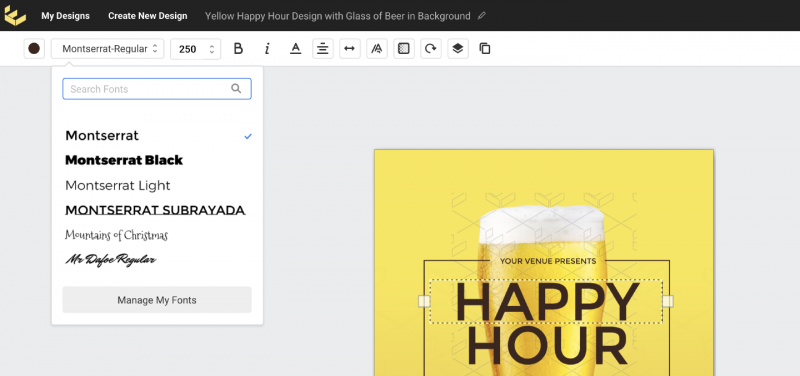
How to change the typeface
- Click on the text box you wish to format.
- Click on the 'Font Family' pop-out in the Actionbar. This will open a drop down menu with all font options available in Easil, including your own fonts if you have uploaded them.
- Click on your desired font to complete the changes.
Note: At this stage, applying a font or format will apply to all letters and words within a single text box.
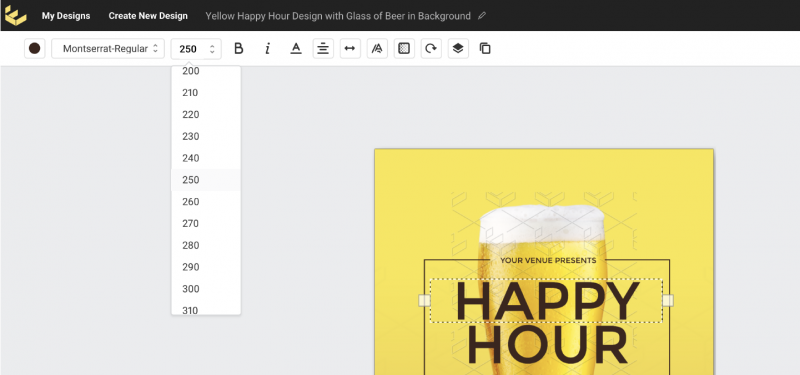
How to change the font size
If you wish to change the size of your text
- Click on the text you wish to format
- Click on the 'Font Size' pop-out in the Actionbar. This should open a drop down menu with different font sizes.
- Click on your desired size to complete the changes.
Alternatively, you can input your own value in the 'Font Size' box if you wish to do so by typing it in.
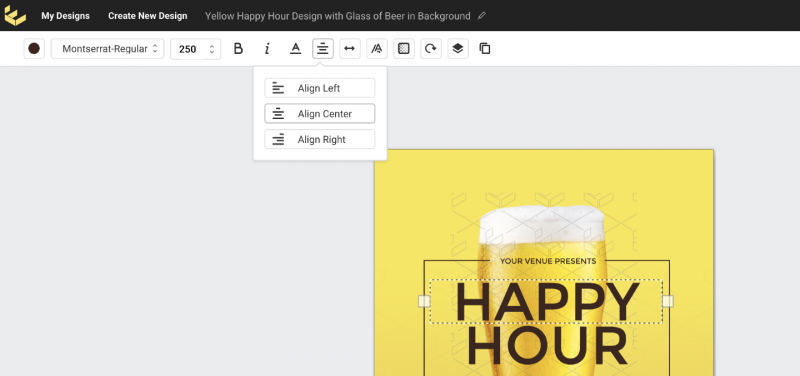
How to align text
If you wish to change the size of your text
- Click on the text you wish to format
- Click on the 'Text Alignment' pop-out in the Actionbar. This will open the drop down menu with different alignment options.
- Click on either 'Align Left', 'Align Center' or 'Align Right' as required.
How to add more space between lines & letters
If you wish to add more space between each line in your text:
- Click on the text box you wish to edit.
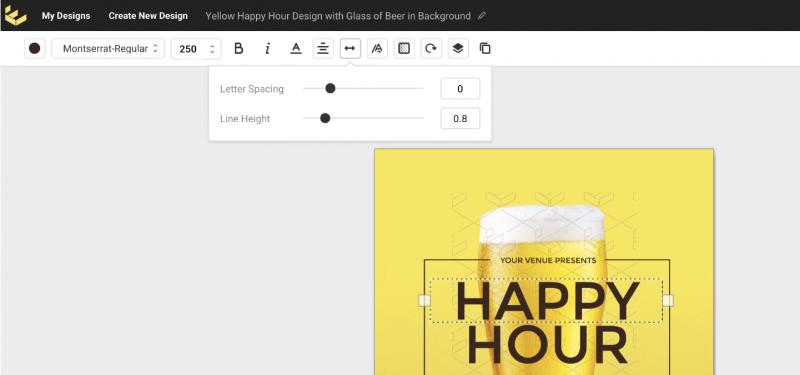
- Click on the 'Text Spacing' pop-out in the Actionbar. This will open the drop down menu Line Height and Letter spacing options.
- With the sidebar open, simply increase or decrease the spacing using the 'Line Height' sliders
If you wish to add more space between the letters in your text:
- Click on the text box you wish to edit
- Click on the 'Text Spacing' pop-out in the Actionbar. This will open the drop down menu providing Line Height and Letter spacing options.
- With the sidebar open, simply increase or decrease the spacing using the 'Letter Spacing' sliders.
 How to change the spacing between each letter individually
Kerning simply means the process of adjusting the space between each character. If you wish to kern individual characters manually,
- Double click on the text box you wish to edit.
- Move the cursor between two characters you would like to have more or less space in between
- Press OPTION + LEFT/RIGHT ARROW to increase or decrease the space in between. (ALT + LEFT/RIGHT ARROW on PC)
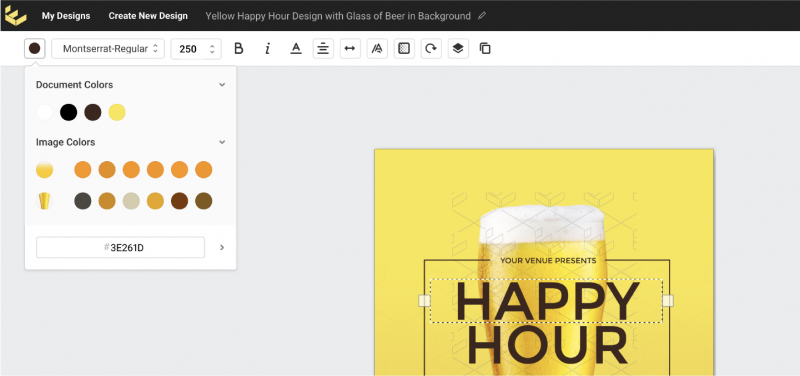
How to change text color
To change text color:
- Click on the text box you wish to modify
- With the sidebar panel open, click on the swatch next to 'Color' This should display the hue sliders.
- Simply click and drag to change your desired colour. Alternatively, you can pick a colour from the 'Document Colors' swatches, or from your Brand Colors if they have been set up in your Brand Kit.